blankhomeaboutthe fammy faithwhats cookinget crafty

Wednesday, December 25, 2013

Breakfast Egg Bake

Sometimes you just feel like breakfast for dinner, right?! Unless your my dad who doesn't like breakfast food so in that case you never want breakfast for dinner. But for those of us who do crave a little meal time switch up then this is a recipe for a delicious egg bake packed with flavor and a great compliment to any of your other favorite breakfast accompaniments.
In fact its almost a meal in itself. It includes veggies, meat, cheese and eggs. Plus its a great way to get sneaky and throw in some veggies that your family might otherwise have trouble eating on their own.
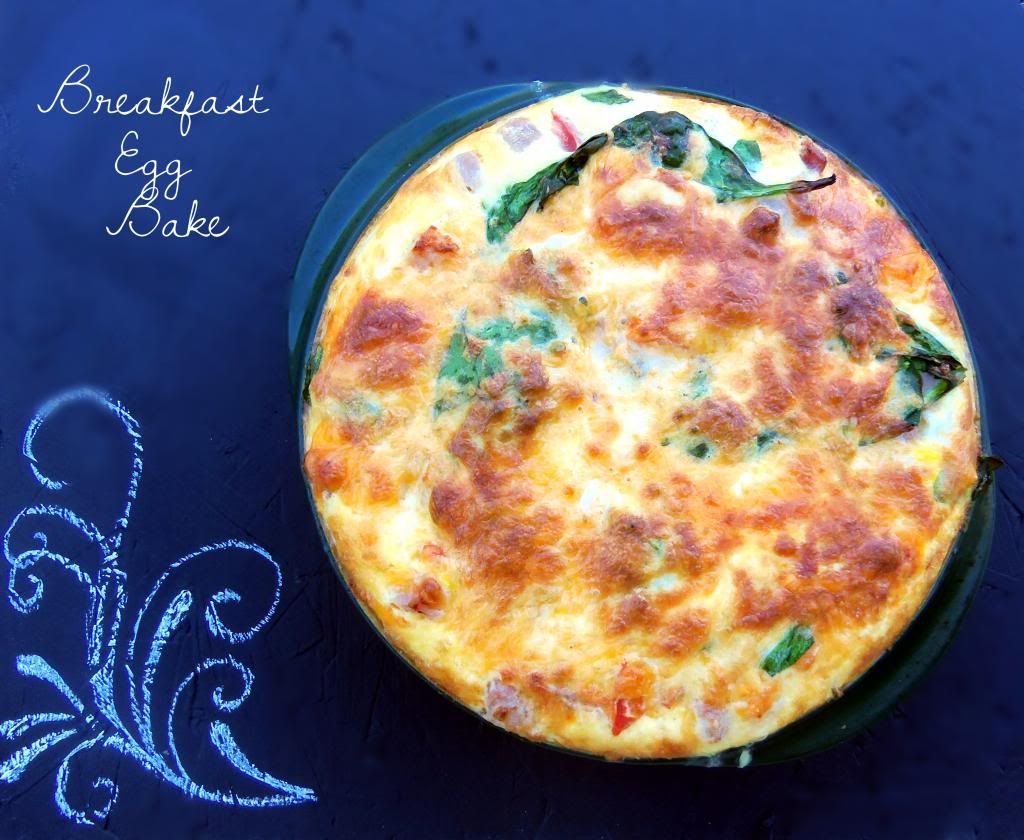
Breakfast Egg Bake

Ingredients:
2 small-medium potatoes
1/2 medium onion finely sliced
1 cup diced ham
1-4 ounce can Ortega chills
1 cup diced tomatoes
2 cups spinach
1 1/2 cups grated cheddar cheese
3/4 cup parmesan cheese
1 cup cream
4 large eggs
salt and pepper

Directions:
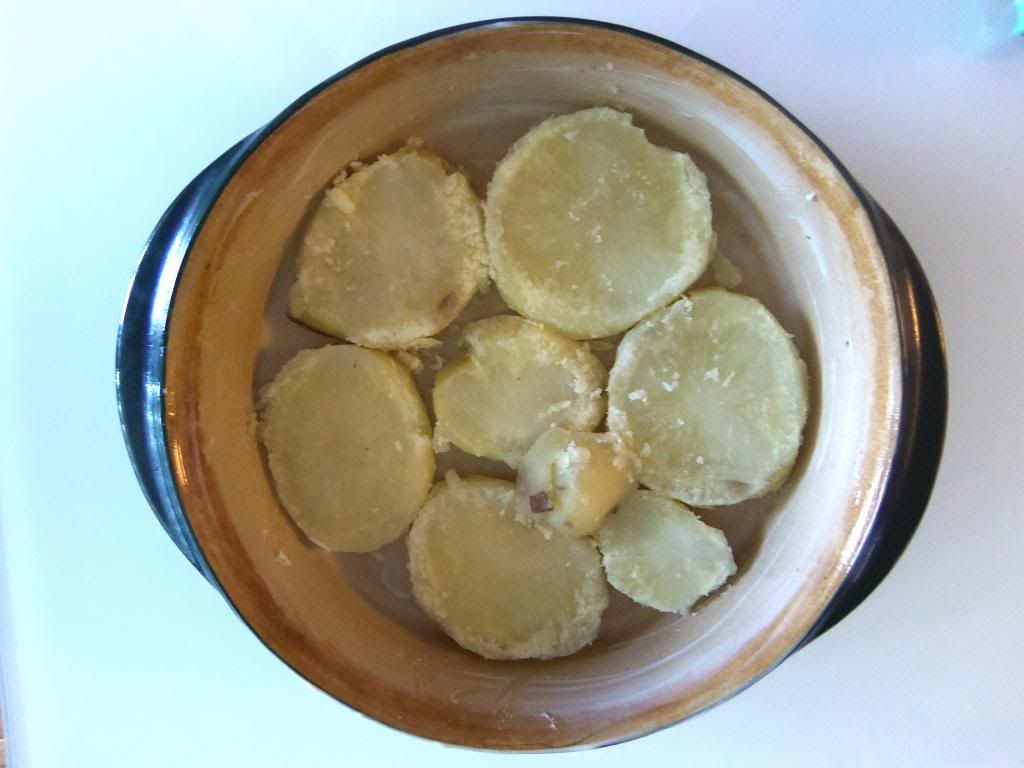
Boil your potatoes until just tender; let cool. Once potatoes are cooled thinly slice them in rounds. Prepare a 9 inch baking dish by spraying with non stick cooking spray or spreading with a thin layer of butter. Place a layer of your cut potatoes in your baking dish an sprinkle with salt and pepper. 
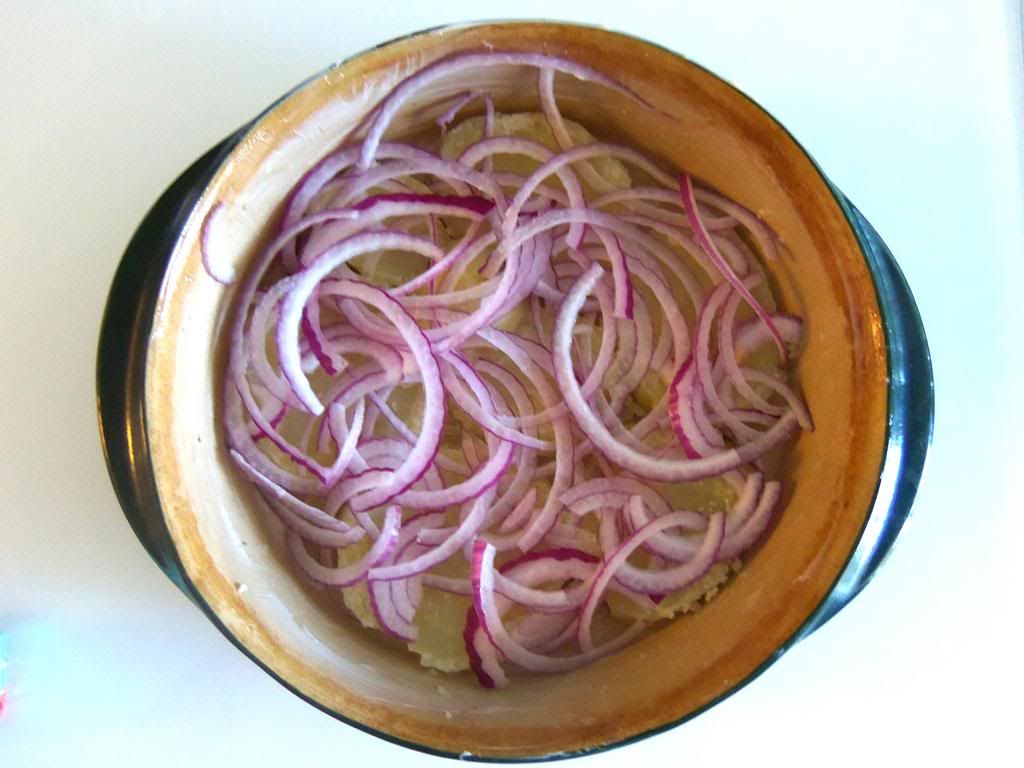
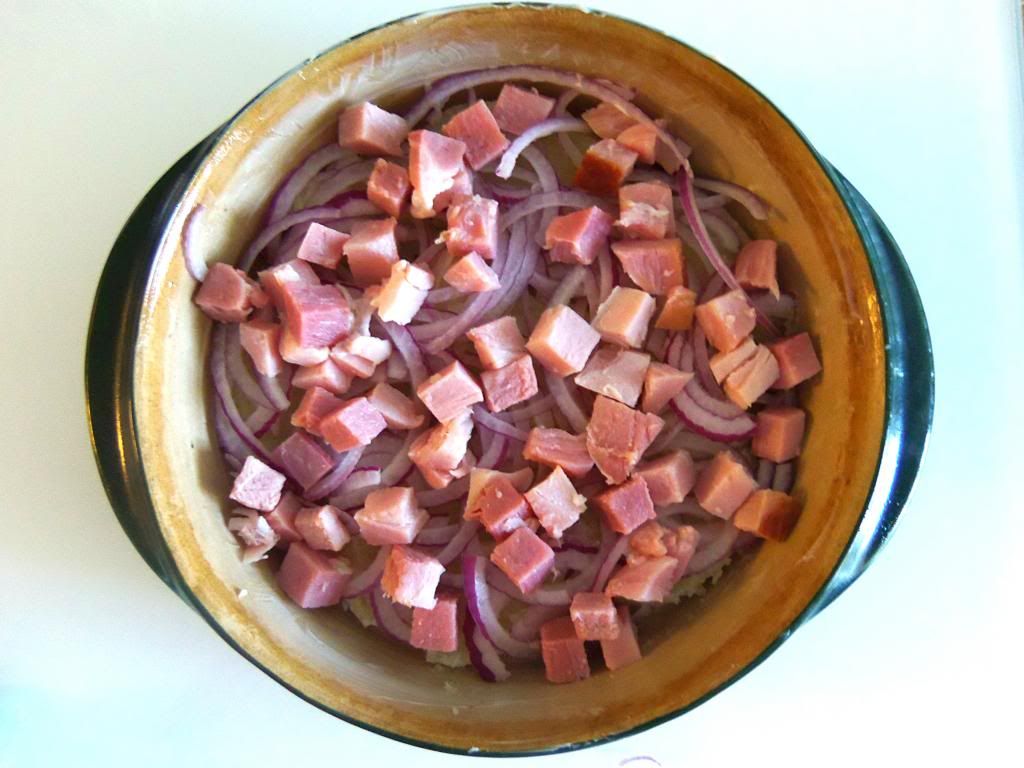
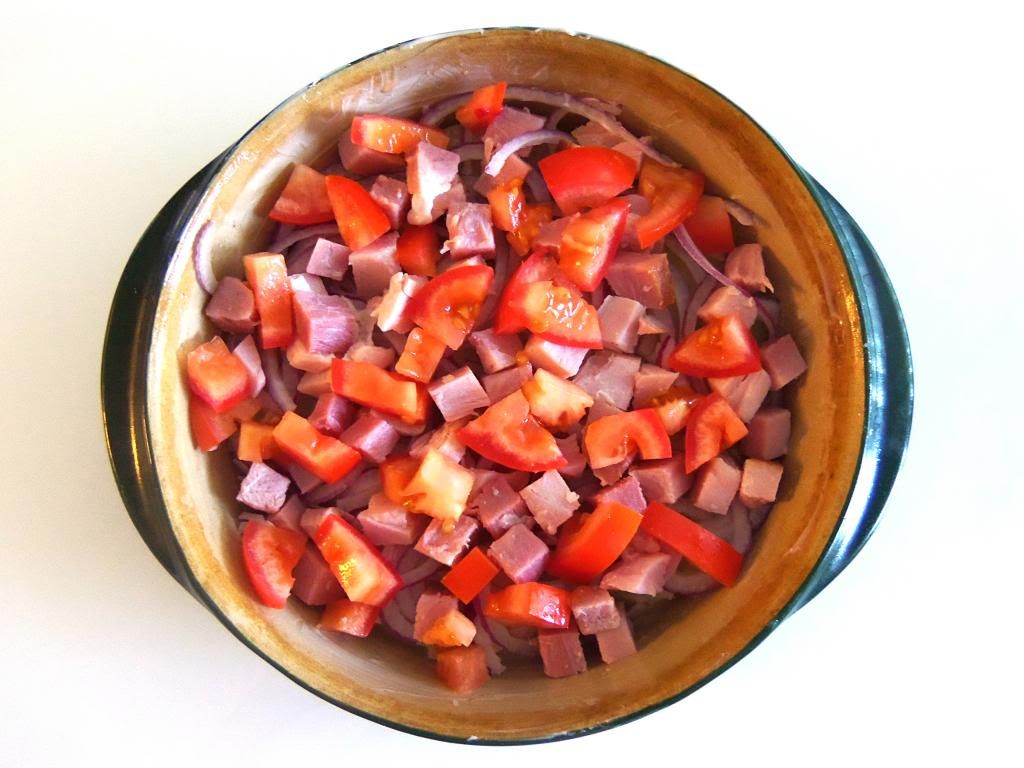
Top with half of your onions and ham. 
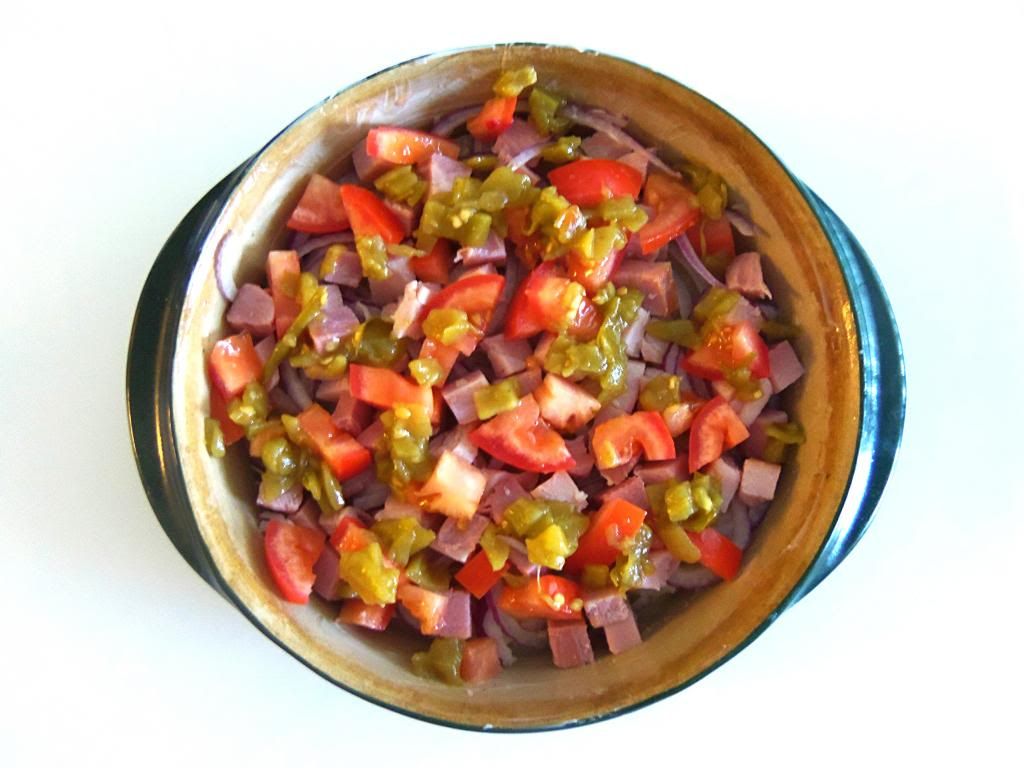
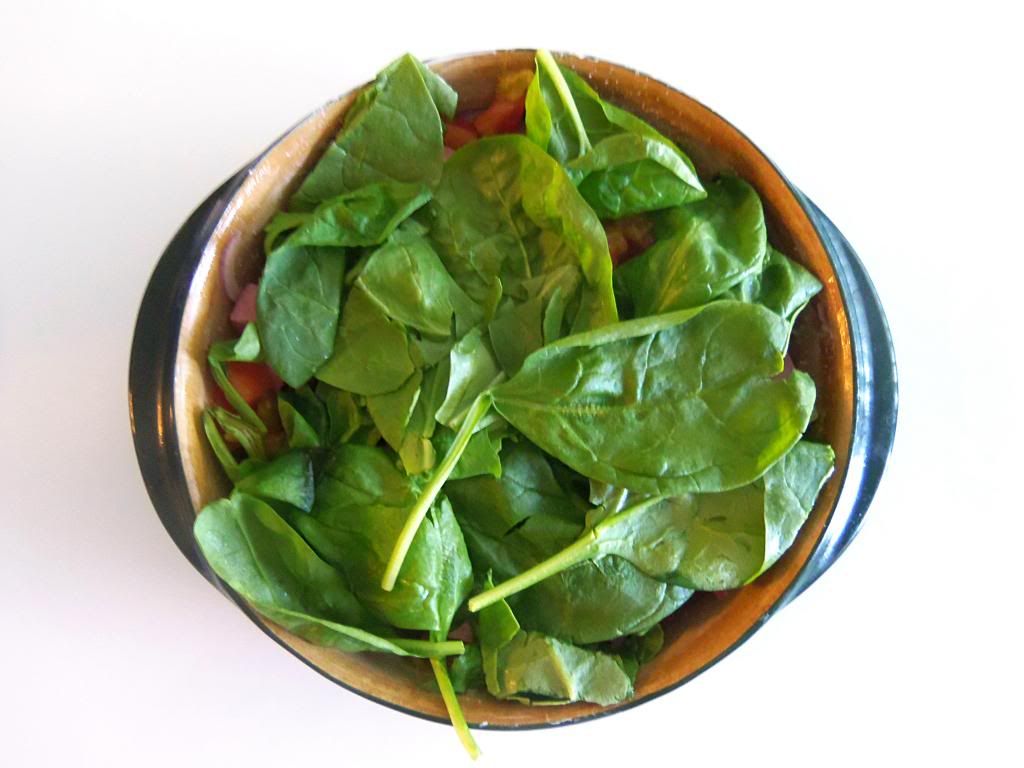
Next top with half of your tomatoes, chilis and spinach. 

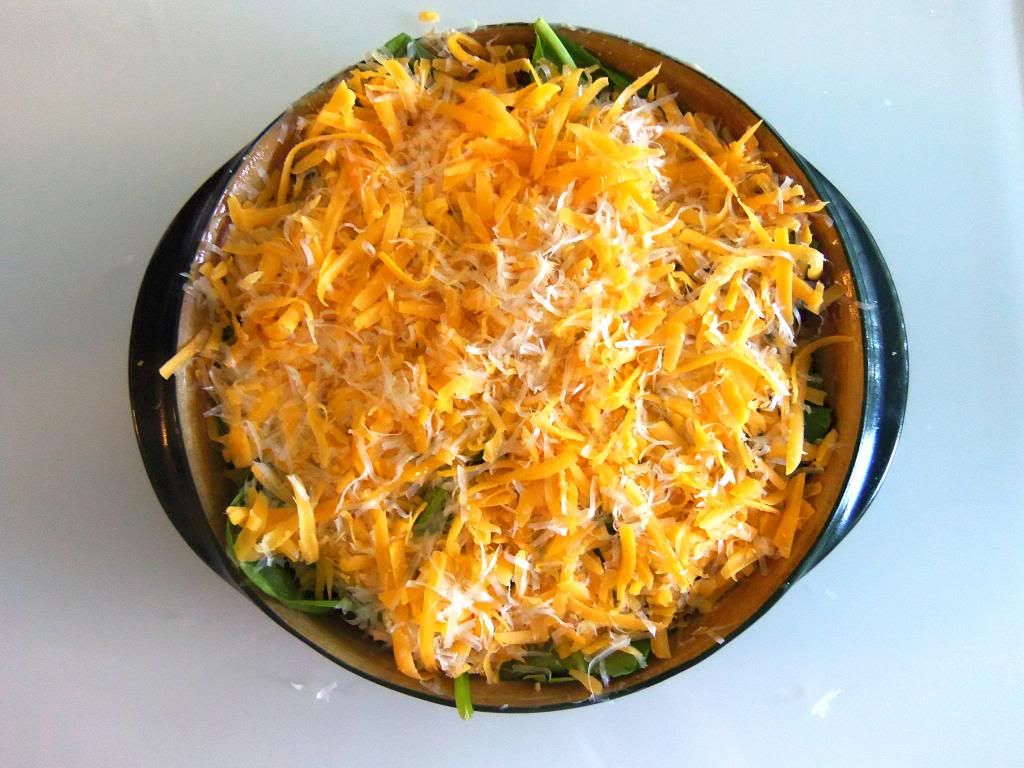
Sprinkle with half of your cheese and repeat the above steps ending with your cheese. 
Whisk together the eggs and cream and gently pour the mixture over your ingredients. Do this slowly so that the liquid has time to penetrate to the bottom of the pan without overflowing. 
Place your baking dish onto a cookie sheet to catch any overflow and bake at 350 degrees for 50-60 minutes.


Wednesday, December 18, 2013

"Best Dad Hands Down" DIY Kids Craft

E just turned 2 and since we have a plethora of crayon scribble drawings and he obviously cannot write on his own, I was looking for a fun and cheap way to involve him in a craft for Ben on Fathers Day. That is how this little project evolved. What kid doesn't like finger painting, and in this case, literally! All you need is a piece of paper, a printer, some paint and a little hand(s)...easy peasy!


 I love this craft, and since it is never a bad time to let your dad or your children's dad know that they are number one, you can give this gift for any holiday or just because!

Wednesday, December 11, 2013

Felt Monogram French Knot Ornament


These are really cute and simple ornaments that you can make to add to your Christmas ornament collection or give as gifts of present toppers to friends and family! Since we are still trying to build up our own family ornament stash I made two ornaments for both my sweet little boys this year. These are really fun to make and if you have children that are old enough to use a thread and needle, it can be a great family project too!


All you need is:
  • felt
  • scissors
  • embroidery thread and needle
  • hot glue gun
  • decorative trim

Start by cuting out he shape and size of ornament you want. I used a plastic cup to cut circles for my ornaments. You will need two pieces of felt the same shape for each ornament you are making.

Trace the letter or word you want to french knot onto one of the pairs of cut felt.


With the color thread you choose start to make french knots in the spaces that you have traced on the felt until you have filled in the area completely. If you are not familiar with how to make french knots, click here for a good tutorial, they are really easy to do.


The next step isn't necessary but I decided to snip little holes evenly around the perimeter of the felt and do a simple single crochet with embroidery thread around the edge to finish it off.


With your second piece of felt you will want to attach a piece of cut embroidery thread for your hook and attach it with hot glue.


Then onto the same piece of felt attach any decorative trim that you have on hand to the perimeter of your ornament.


Then take your french knot felt piece and glue it onto the piece that you just added a decorative trim to. Now your ready to hang or gift this adorable little french knot monogrammed ornament!!


Wednesday, December 4, 2013

DIY Upholstered Boxspring Mattress

It was time to move my son out of his crib and into a toddler bed; but instead of getting a small bed that he would be sure to grow out of in no time, we decided to go ahead and throw him in a full size bed that would last him for years to come. Since he is only 2+ years old we opted to leave the mattress and box spring on the ground instead of in a frame. We were a little hesitant at first since he has never been up so high or had such a large bed before. We made him a part of the process of breaking down his crib and bringing in the new mattress and box spring and he had a blast. He was easily able to climb on top and thought it was the greatest thing in the world to now have that much real-estate to sleep on. 


He is still young enough that he doesn't use a top sheet to get tangled in or a comforter to smother him so we simply bought some fitted sheets that we jersey material for softness and warmth. But when it came to the box spring I was stumped. I couldn't put a bed skirt on it because there were no legs on the bed to heighten it so that the bed skirt would not just pile up on the floor. And there was no way I was going to leave the box spring uncovered because it was hideous. So that left only one thing to do! Cover it with fabric. I have seen multiple tutorials online about reupholstering a box spring but all of them included permanently attaching fabric to the box spring by stapling, or gluing it. I wanted the option to be able to take it off and wash it when needed or be able to switch it out when my son gets older. And that's why I decided to simply sew elastic around my fabric for easy on and off access. 

It couldn't have been easier to make; all you need is:
  • fabric
  • elastic
  • tape measure 
  • sewing machine

Lets get started:
First things first you will want to take some measurements. Measure the perimeter of the box spring frame and add 5 inches and that will be the length of fabric you will need to cover the perimeter of the box spring. Next measure the height of the box spring and add 5 inches and that will be the width of fabric you will need. After you take all of your measurements, sew together the lengths of your fabric to give you one really long piece of fabric that is the entire length of the perimeter of the box spring. Sew together the two ends of your fabric right sides together. So now you have one large fully connected piece of fabric, like one big box spring square. Next you want to fold over the ruff edges of your length to make a hem and sew all the way down both sides.


Then take your elastic and either sew elastic around the entire length of your fabric both top and bottom or you can just add elastic to the corner parts of your box spring mattress top and bottom.


Place your fabric cover onto your box spring to make sure it fits and voila, you now have a stylish cover that you can remove to wash or change any time you want!!


Wednesday, November 27, 2013

Fabric Scrap Pennants

Recently I was cleaning out my craft cabinet and noticed I had gobs and gobs of remnant fabric laying around. I really wanted to try to purge as much unnecessary items as I could and new that most of these scraps would never get used. So in one last ditch effort I decided to rustle up enough pieces to make some pennants to adorn Easton's windows with. And that's exactly what I did!
I started by cutting out a bunch of rectangles for the pennants from my fabric scraps.
I used a crochet chain stitch to attach to and hold up all of my pennants... 
laid out my ironed fabric with the yarn on top...
and hot glued the fabric around the yarn...
then snipped off the flap of fabric that was now showing after I folded it over.
Tada! A perfect adornment for Easton's window!

Wednesday, November 20, 2013

Honey Soy Chicken

Picture from Table for Two
This honey soy chicken dish is to die for! I found the recipe on the great blog, Table for Two, and just made very minor adjustments like using chicken breasts instead of thighs, marinating my chicken in the sauce before cooking, and altering the ingredient amounts just a bit. And since I had, and you probably do too, all of the ingredients on hand, it makes for a quick and easy weekday meal that will leave you wishing you made more for leftovers. In fact the recipe sounded so good that I did double it just so that I would have some chicken to pack for my husbands lunches for the remainder of the week. And because it was such a success I didnt have to get creative and find ways to use it up, because it was half devoured the very first night! I have honestly never had chicken in the oven quite this tender. I marinated my chicken for about 6 hours before baking it and I believe it made a world of difference. The flavors really really penetrated the chicken and it was honestly as juicy and melt in your mouth as a good aged steak can be!

Honey Soy Chicken

Ingredients:
4 boneless, skinless, chicken breasts

3 tablespoons olive oil
3 tablespoons soy sauce
1 tablespoon sesame oil
5 tablespoons honey
4 cloves garlic, minced
1 tablespoon fresh grated ginger
1 teaspoon pepper

Directions:
Combine chicken and all of the ingredients into a large zip lock baggie. Give it a good swish around to mix all of the ingredients and completely cover the chicken. Place flat in your refrigerator for 6 hours and turn chicken half way through. Once ready to cook, preheat your oven to 425 degrees. Line a 8x8 pan with two layers of foil. Do not alter these last two instructions. An 8x8 pan is key, your chicken breasts will be snug yes but it will keep the sauce from evaporating and your chicken from drying out. Also be sure to double line your pan with tin foil. You will thank me after cooking the chicken when you can simply pull up the foil and have a clean pan instead of spending all night scrubbing your pan free of stuck on marinade. 
Cook chicken for 35-40 minutes or until internal temperature reaches 165 degrees. Plate and pour marinade juices over chicken. Enjoy!

Wednesday, November 13, 2013

Apple Streusel Cheesecake Tarts with Salted Caramel Drizzle

Fall is here and its time to start wearing a few extra layers and enjoying some yummy comfort food. I look forward to the fall months each year in anticipation for all of the apples that start flooding the markets. There are so many great varieties from sweet to tart. After making a trip up to an apple farm and seeing the granny smith apples on display I knew I needed to buy some and make this delicious apple cheesecake. But instead of making one large cake and sitting in front of it each night with a fork in hand, I opted to try and portion myself and use little tart molds I had. This would also work perfectly in a regular cheesecake springform pan or even in a large 9x13 inch glass pan; whatever you have on hand and is easier for you. 


But just making an apple cheesecake would not suffice for me! I needed to up the anty. And up it I did by adding the best brown sugar and oat streusel on top and then if that wasn't enough I drizzled each with salted caramel once out of the oven. Do I have you hooked yet?! If this dish doesn't scream Fall then I don't know what does! In fact I am thinking of making these beauties as a dessert for Thanksgiving this year!

Apple Streusel Cheesecake Tarts with Salted Caramel Drizzle

Ingredients:
Cheesecake-
2 cups flour
1/2 cup brown sugar
1 cup butter
2 8 oz packages cream cheese, softened
1/2 cup sugar, plus 2 tablespoons, divided
2 large eggs
1 teaspoon vanilla extract
3 granny smith apples, peeled, cored and finely chopped
1/2 teaspoon ground cinnamon

Streusel Topping-
1 cup brown sugar
1 cup flour
1/2 cup cooking oats
1/2 cup butter, softened
1 teaspoon cinnamon

Salted Caramel-
1/2 cup sugar
4 tablespoons water
1/2 teaspoon salt
4 tablespoons plus 4 teaspoons heavy cream

Directions:
Preheat oven to 350 degrees.  In a bowl combine the flour and brown sugar. Cut in the butter until crumbly and press evenly into each of your tart molds sprayed with non stick cooking spray, or into a 9x13 inch pan lined with aluminum foil. 


Bake 15 minutes or until lightly browned. In a large bowl, beat the cream cheese on medium speed until smooth. Add 1/2 cup sugar, eggs and vanilla and beat until smooth. Pour over warm crust. In a small bowl, stir together the apples, 2 tablespoons of sugar, and cinnamon. Spoon over the cream cheese mixture. 


In a bowl combine all of the streusel ingredients except for the butter. Once dry ingredients are incorporated, cut in the butter until mixture is course and crumbly. Spoon streusel topping over cream cheese and apple mixture. Bake for 30 minutes or until cheesecake filling is set. Remove from oven and let cool completely before removing from molds.


To prepare the salted caramel place sugar and water in a small pan over medium high heat. Do not stir or you will get sugar crystals, only swirl the saucepan gently. It will bubble itself into a deep amber color. Remove immediately from the heat and add the cream (careful...it will start to bubble furiously). Stir until smooth, set aside and let cool before drizzling over your tarts. Enjoy!
 
Blogging tips